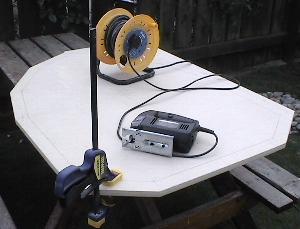
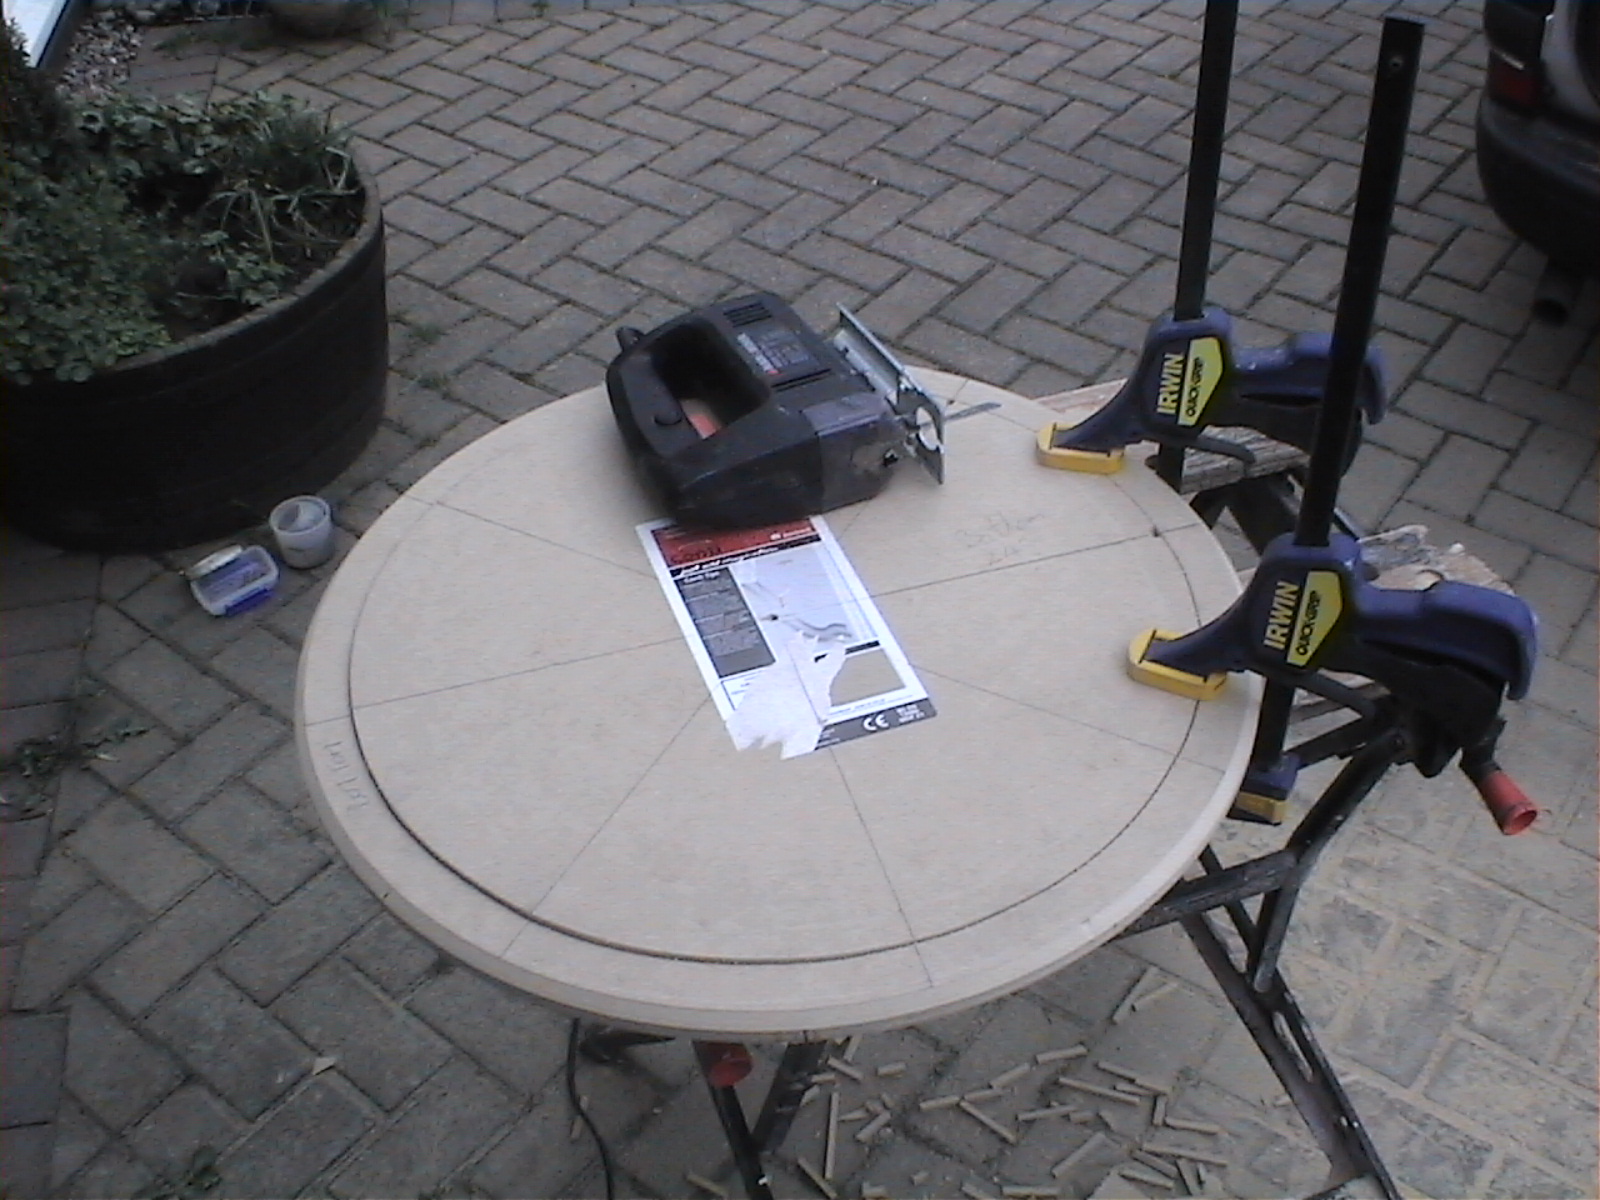
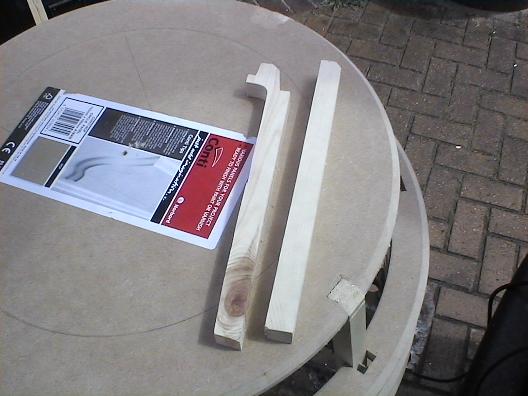
18th August 2005 - The initial plan was to build the Dalek in the shed in the back garden, which is why I am cutting on the picnic table. Unfortunately, this was soon scuppered when I did some exact measurements and realised that the finshed Dalek would not fit down the pathway at the side of the house - bummer ! The base is heavy duty 18mm MDF, this is to take the full weight of the complete Dalek and also the electric chair components which will give it motive power (no pedaling about for me).
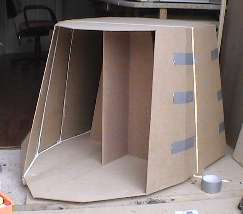
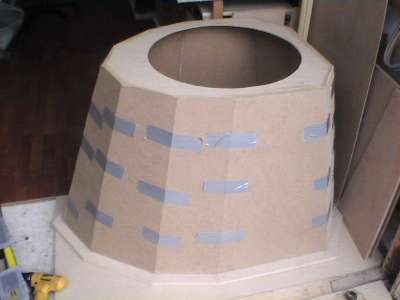
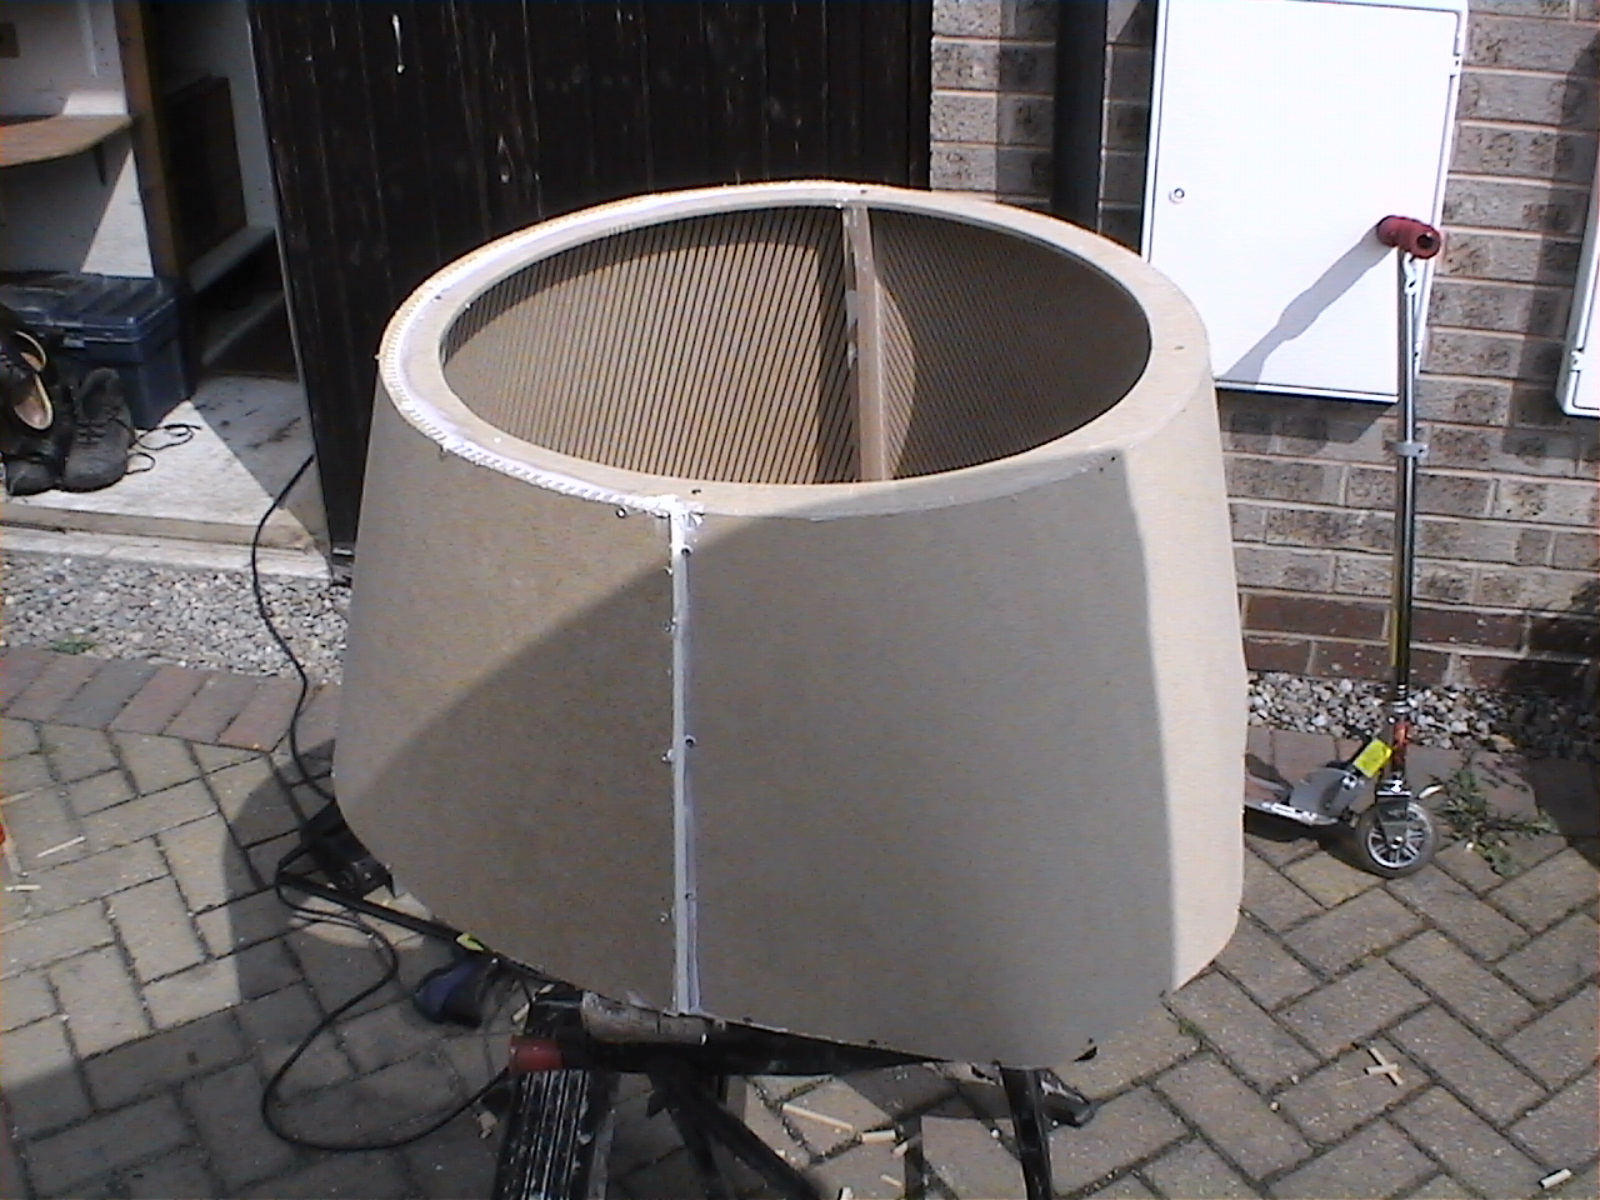
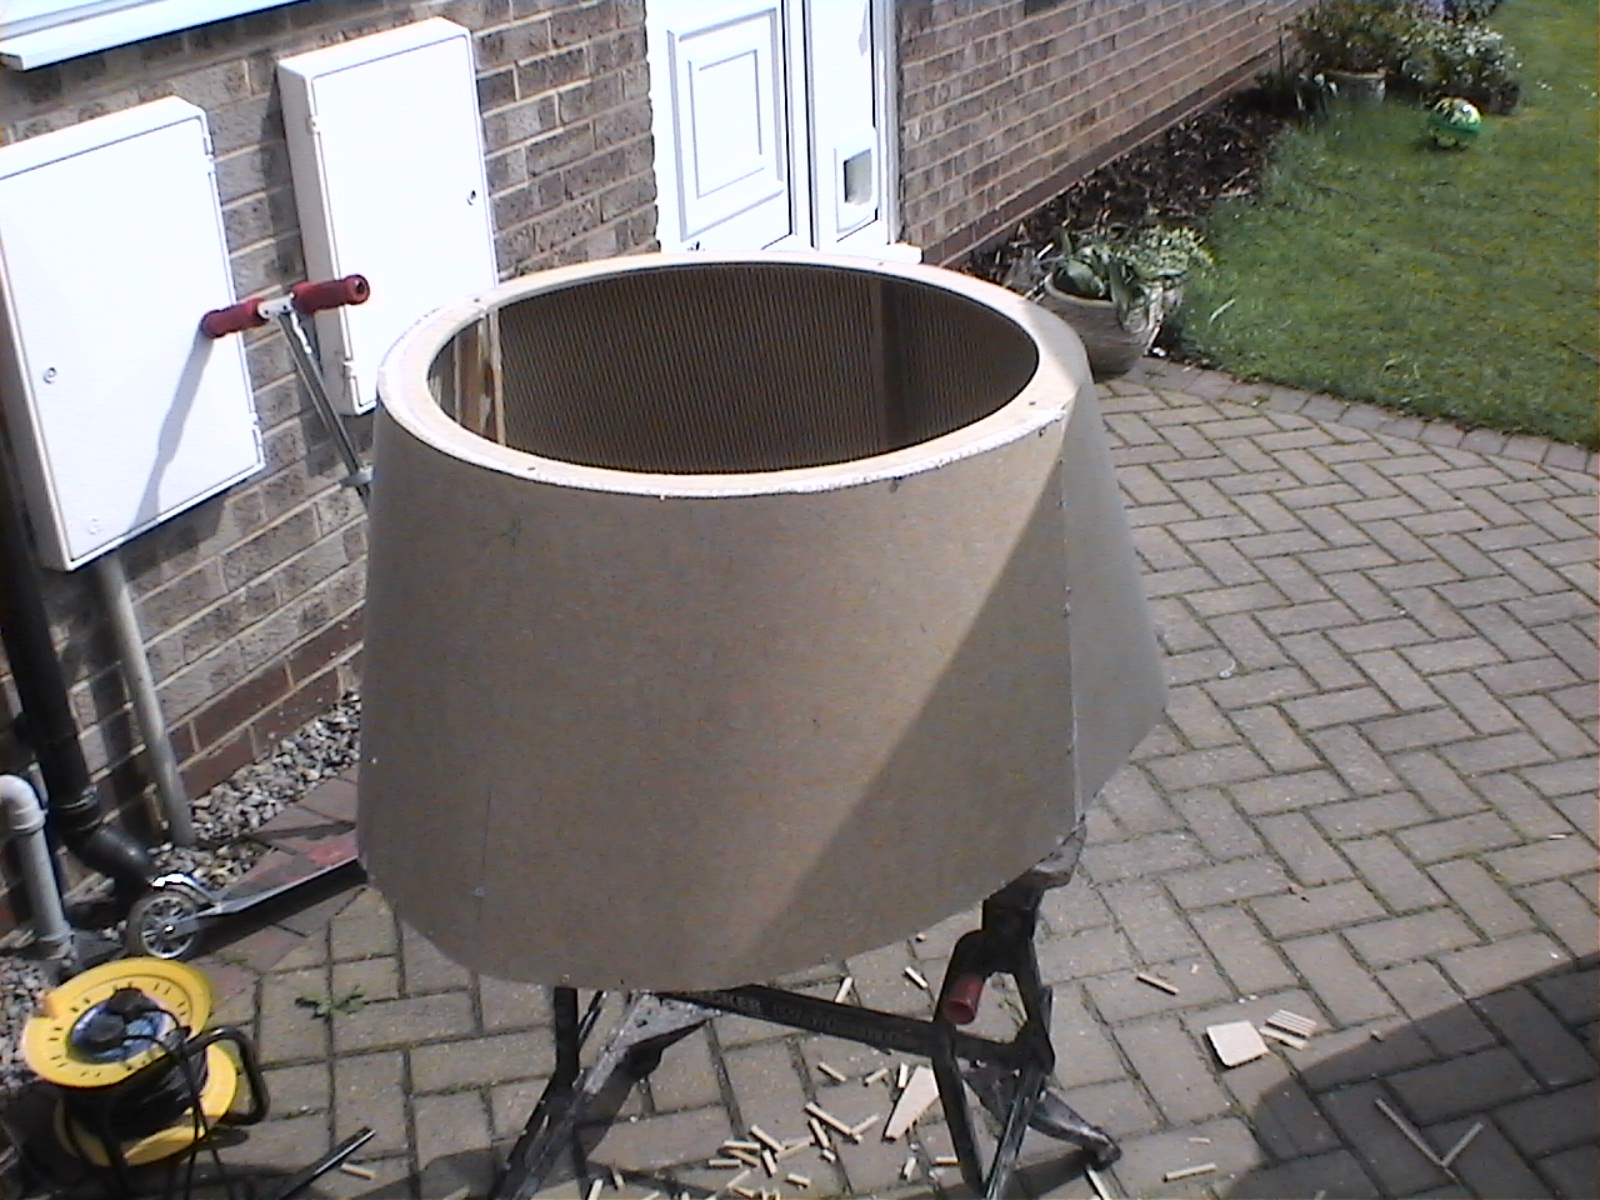
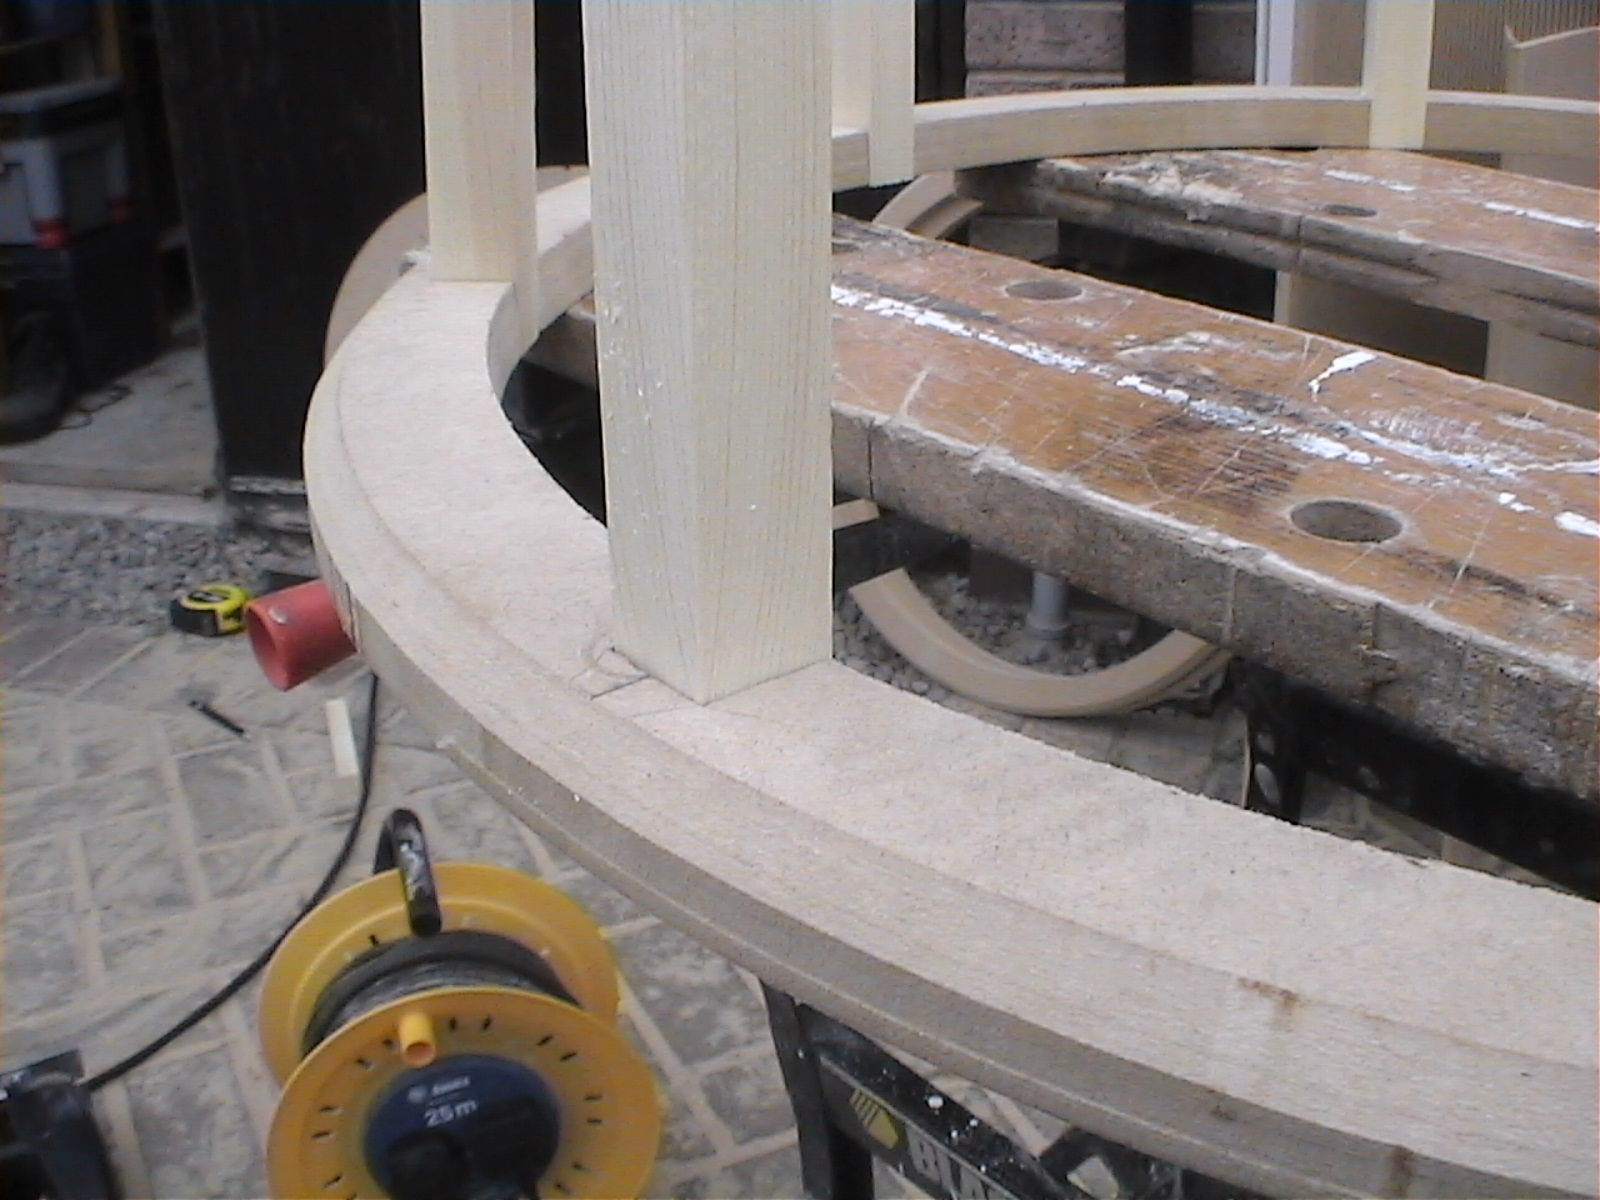
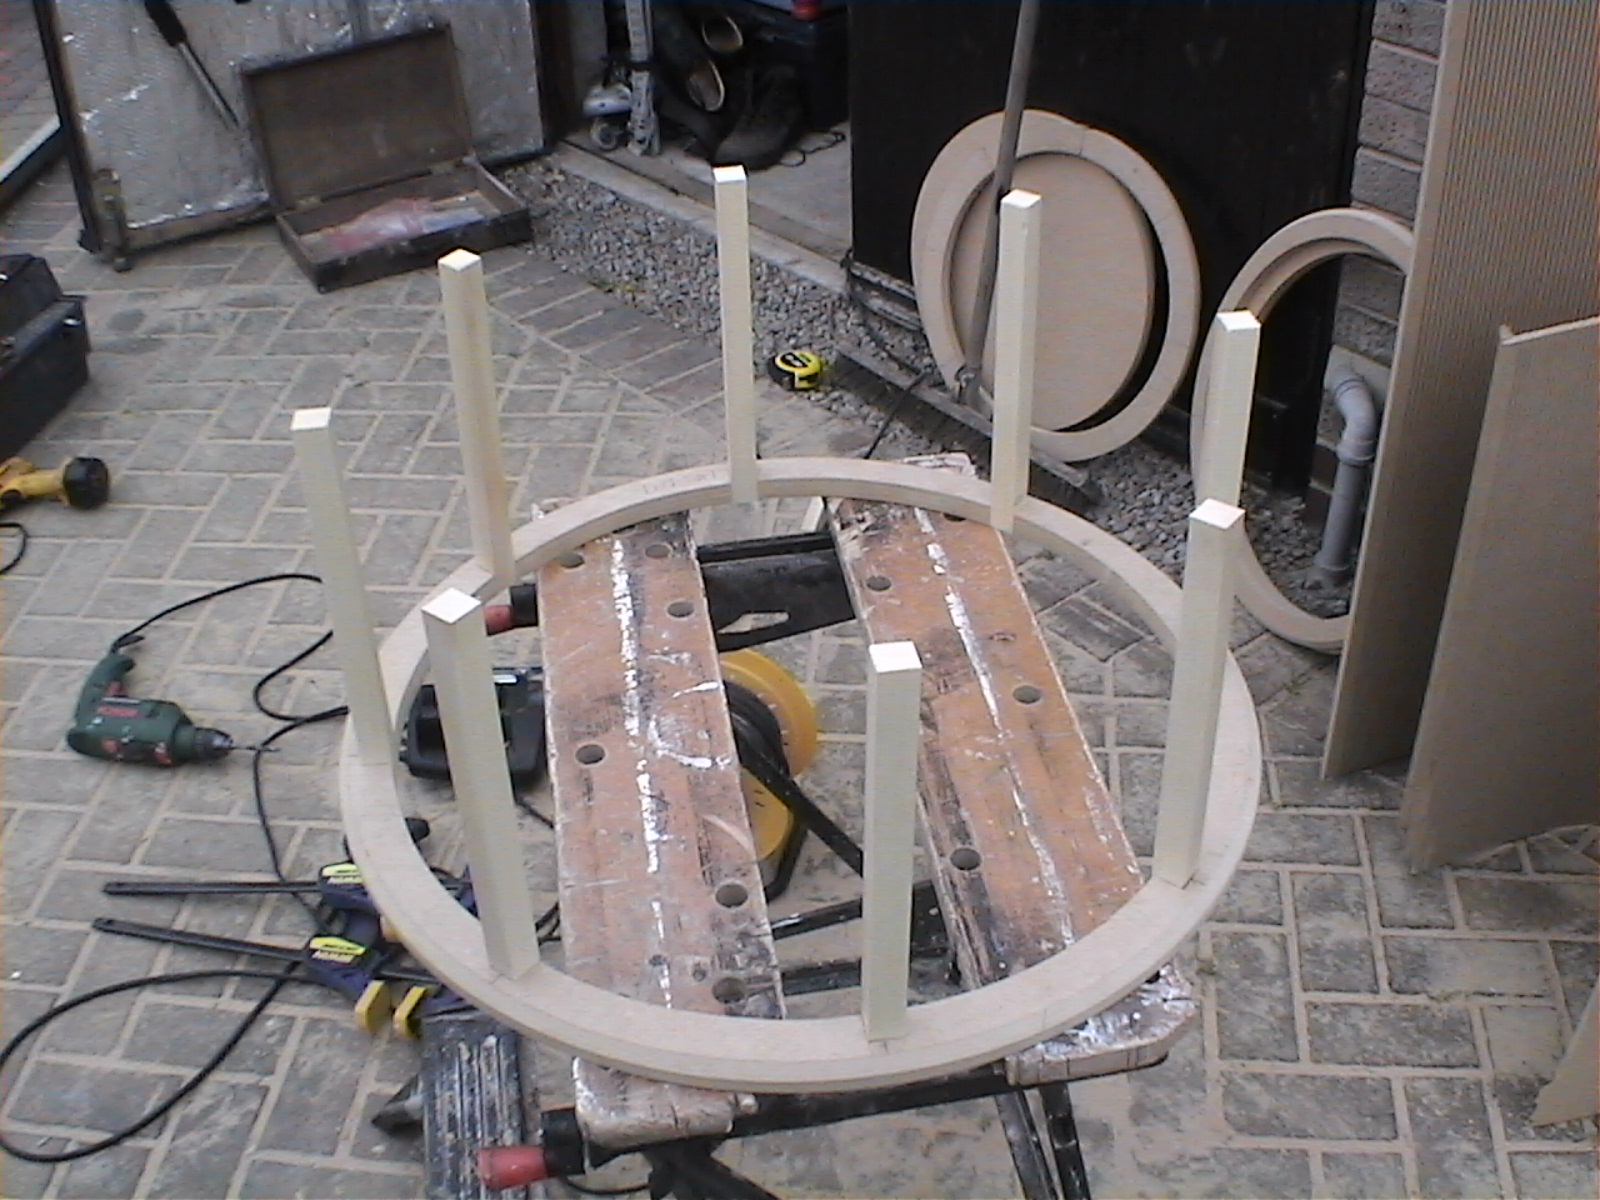
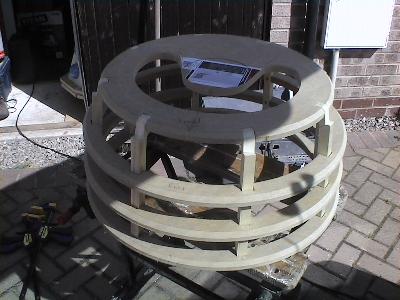
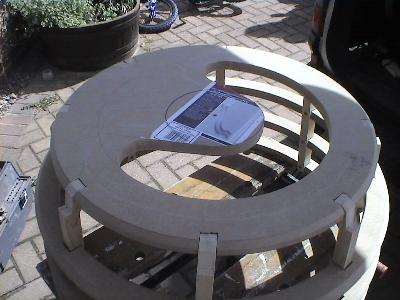
31st August 2005 - After a minor refit of my garage (moved some computers out and shortened the bench by 12"), there was now a nice platform area for building, providing I open both doors and do the cutting outside, after all, I don't want my computers getting dusty. As you can see from the photo's, The skirt has a temporary support to keep the base/top formers at the correct distance while the panels are glued and pinned into place. When complete, a circle was cut so the support could be removed and also to gain access to the inside so further glueing could be done. That will have to set for a day or two before more strengthening work can be done.

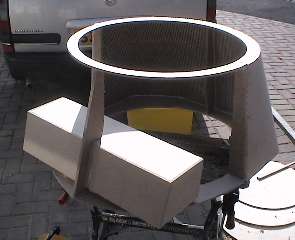
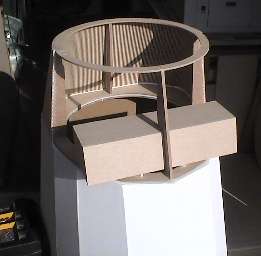
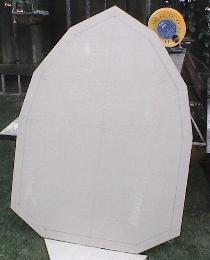
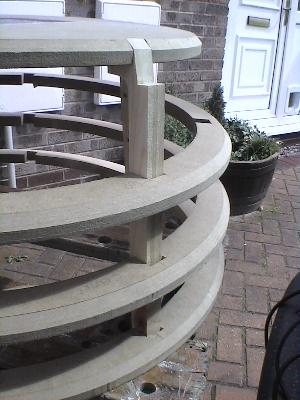
4th September 2005 - Its a beautifull day and I have it all to myself ! After adding some extra supports, three coats of primer/base paint, the skirt was sanded down to a smooth finish and left for now so work on the collar section could begin. Making the collar was fairly straight forward after the lessons learnt from making the skirt, but bending the MDF to shape around the rear section was an absolute nightmare - I sweated a lot doing that bit but the end result is nice and smooth so it was worth it. Making the gun box is a bit of guess work really as the plans don't go into great detail and there are no measurements for it. So I did most of it 'by eye' from photographs. I'll have to test fit the gun and plunger arm prior to finishing off the gun box and collar. As I haven't made either the gun or plunger arm yet, that means I can't skin the front part of the collar, which in turn means this section is halted for now. Later this week I will be picking up my electric wheelchair for the Dalek. Once this is fitted to the base (top two pictures) it will be 'alive' for the first time ! I'll try and put up some moving images when this is done.
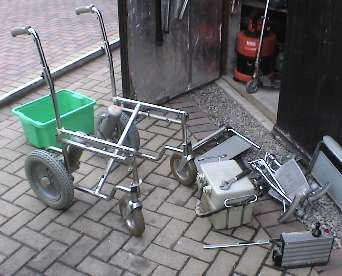
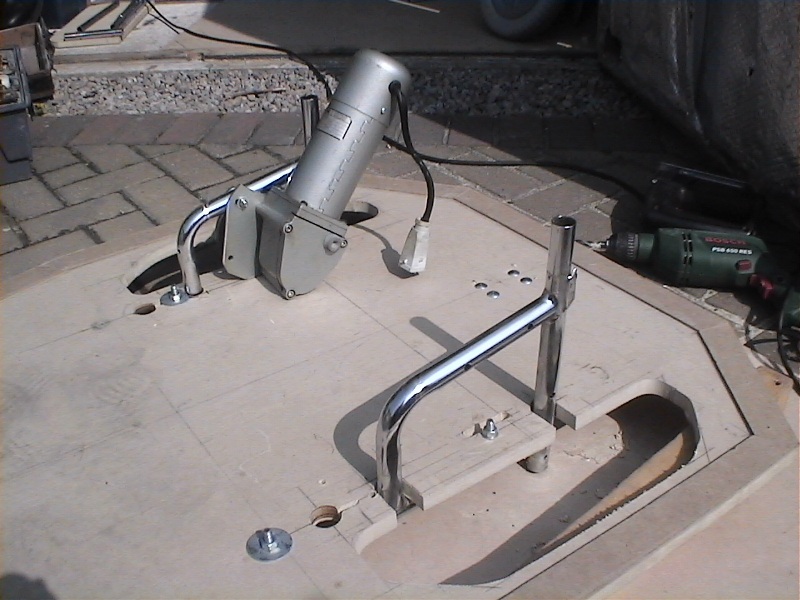
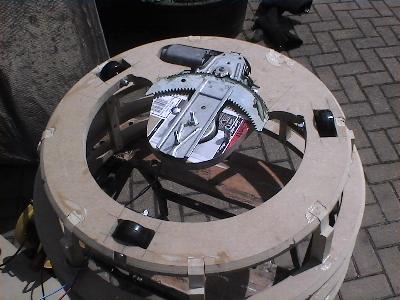
9th September 2005 - I spent most of today driving down the M1 to pick up this wheelchair so I could fit it to the base. All the fabric had to be stripped off and discarded straight away as the previous owner was a smoker and it stunk ! The first fitting of the components to the base board went fairly well but the motors will have to be repositioned as they are pointing the wrong way which means the battery has to sit too far forward, which leaves me absolutely no room for my legs :-( One of the tyres is also so old that the wire in it has perished and it keeps coming off the rim when turning in a tight circle. So I need to refit the motors and buy a new tyre, on a plus point though, the batteries and control box are in excellent condition and the charging unit is brand new.
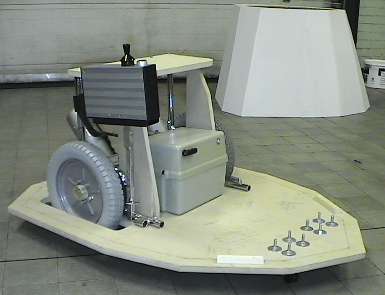
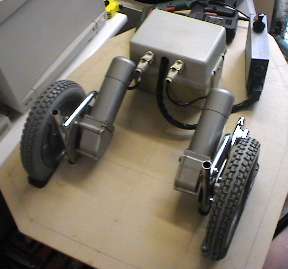
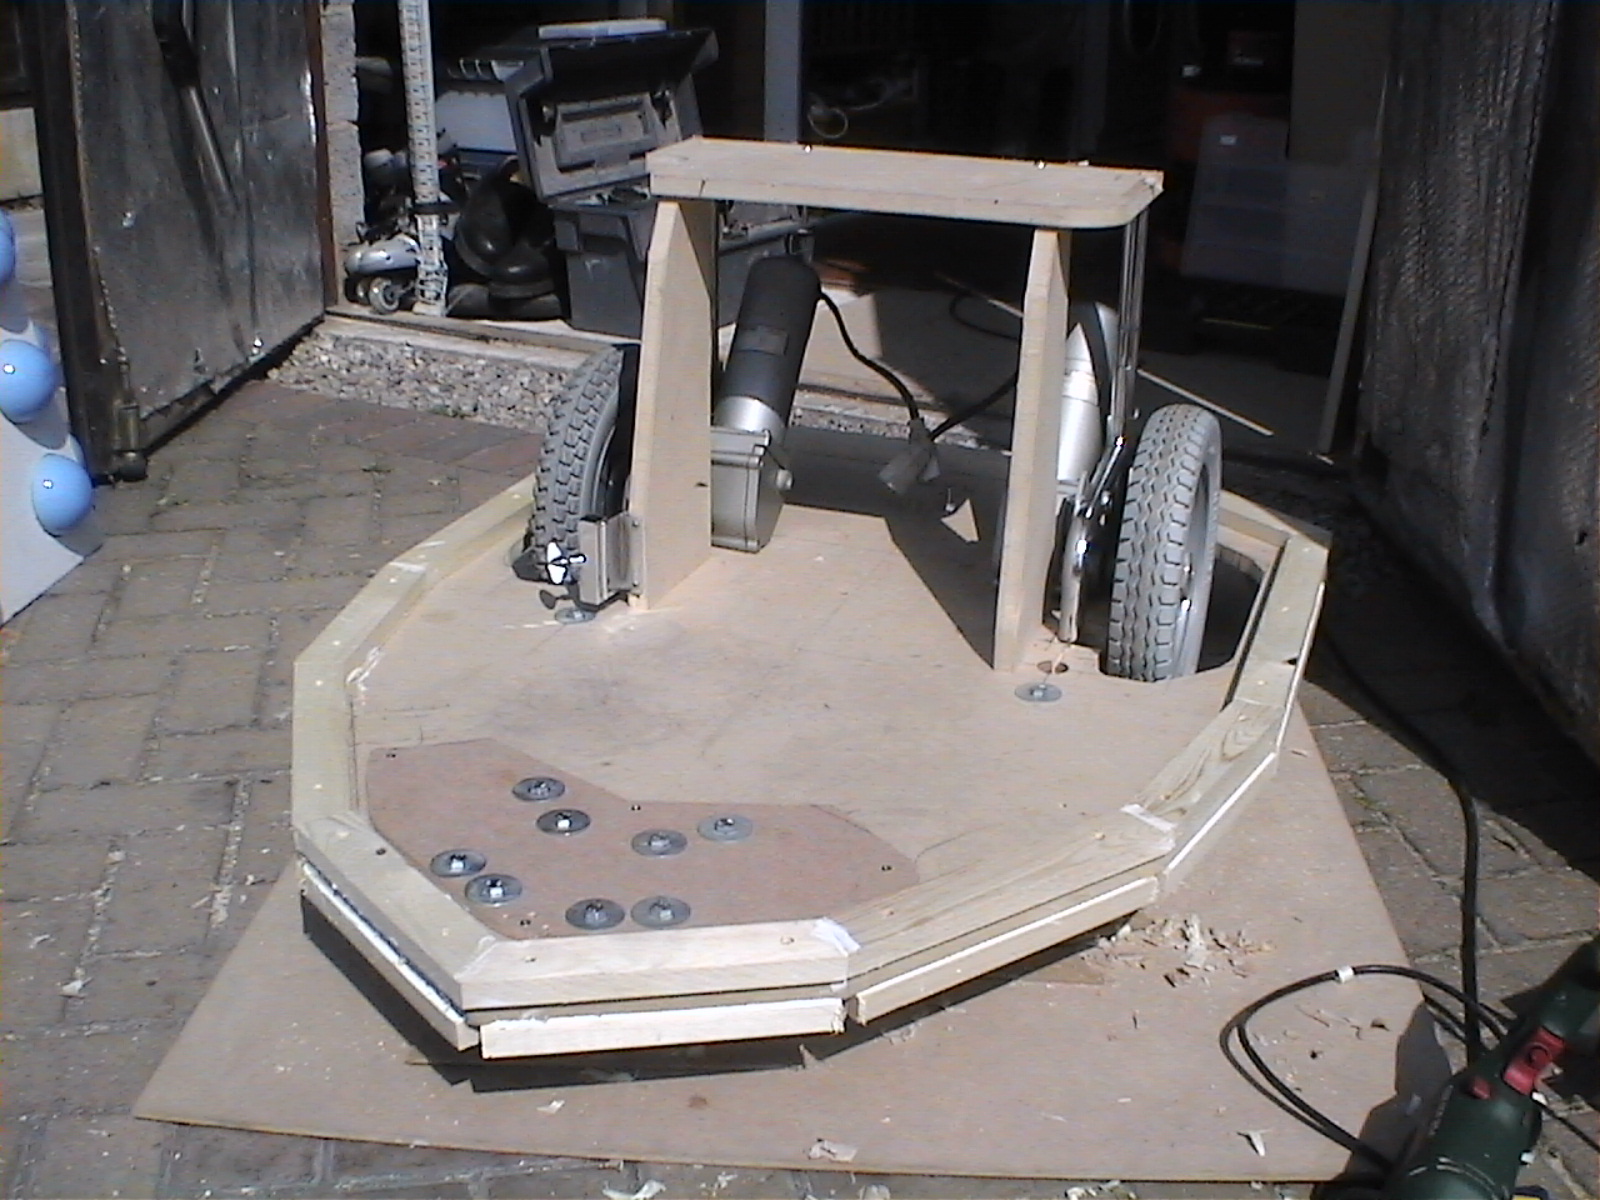
16th September 2005 - I brought the base to work with me tonight so I could 'road test' the function of the motors and battery - all went well and we all had a ball driving it around the station yard ! As you can see, the motors have been repositioned which allows the battery to sit further back under the seat (more room for my legs). There is a slight drawback that the centre of gravity is a bit far back and it may tilt a bit if you start off too quickly so I will have to fit an anit-tilt mechanism to stop that happening ! It is not until you sit in this with the skirt on that you realise just how little room there is for yourself, there is nothing I can do about that but I am just glad I made the skirt without the heavy supporting struts. Now this is all working okay I need to sort out the hemi's (balls) and a skirt pelmet to cover the wheels.
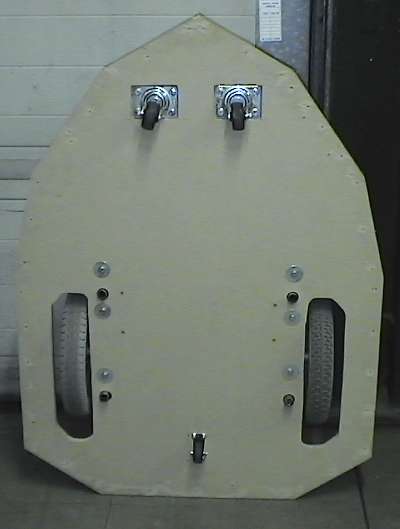
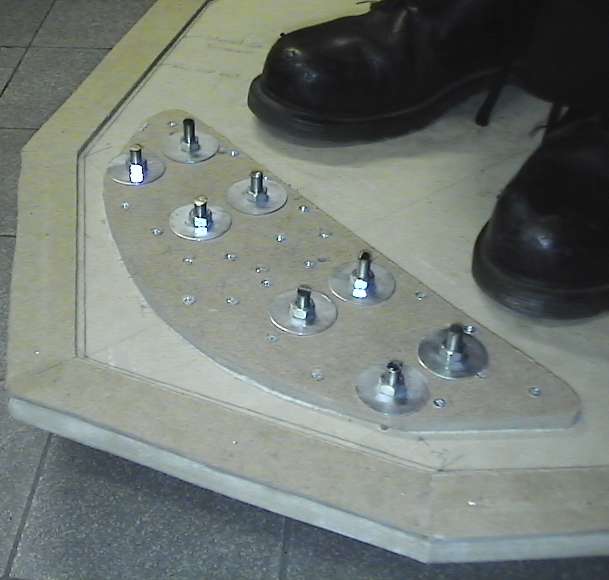
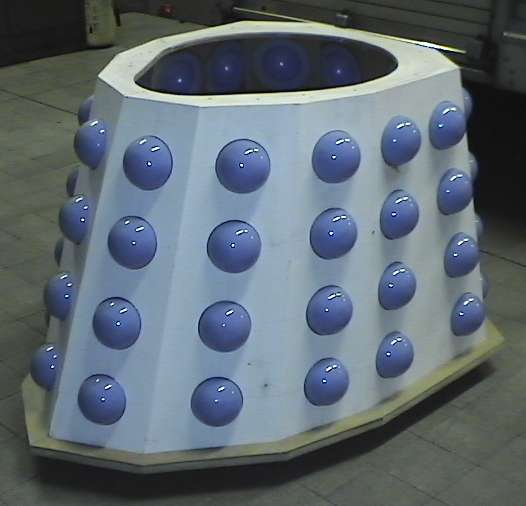
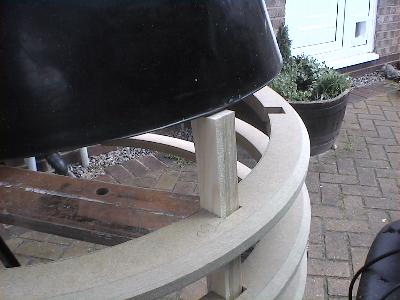
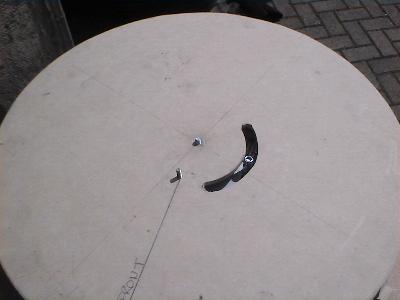
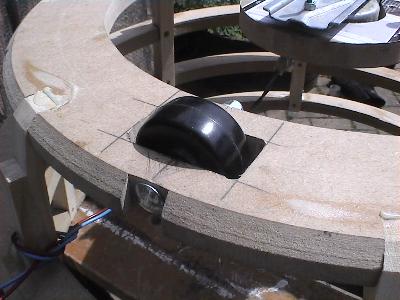
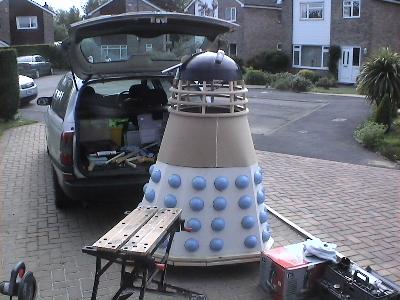
10th October 2005 - The days are getting colder so work on the Dalek will be limited as it is too cold to work outside (glue won't set). Today was warm so the final adjustments to the base were made and the hemi's (balls) were fitted. The underside of the base has had the rotating front caster wheels recessed by 12mm and a rear fixed wheel was added to stop the Dalek tipping backwards if it is accelerated too fast. On top of the base I have fitted a rim to hold the skirt in place but it will still need some retaining bolts when finished otherwise it will jump off the base. The hemi's came ready to use and are made from 3mm high impact acrylic, although they are molded in blue the finished Dalek will be gold as I have decided to opt for the NSD (New Series Dalek) colour scheme from the recent Dr Who series. The next thing to do is to test the battery life and see how fast it will go. The original wheelchair did in excess of 10mph and it may be possible to get up to 14mph out of the final build !
9th May 2006 - Well its been a long while but the sun is shinning again - well, most of the time ;-) I have also promised my local school (East Garforth Primary) that they can use the finished Dalek at their forthcoming Summer Fair which is on the 26th June - Arrgh, thats only a few weeks away ! After looking at the Dalek throughout winter and studying photographs of the NSD I decided mine was too low to the ground. The best option was to move the tubular frame from its 'top' mounting position to 'under' the baseboard. Today was sunny and I had a spare few hours so I bit the bullet and moved it all around. Its sounds easy but it involved a lot of drilling, cutting and angle grinding ! When I had finished the remounting it became obvious that some new front/rear wheels were needed.
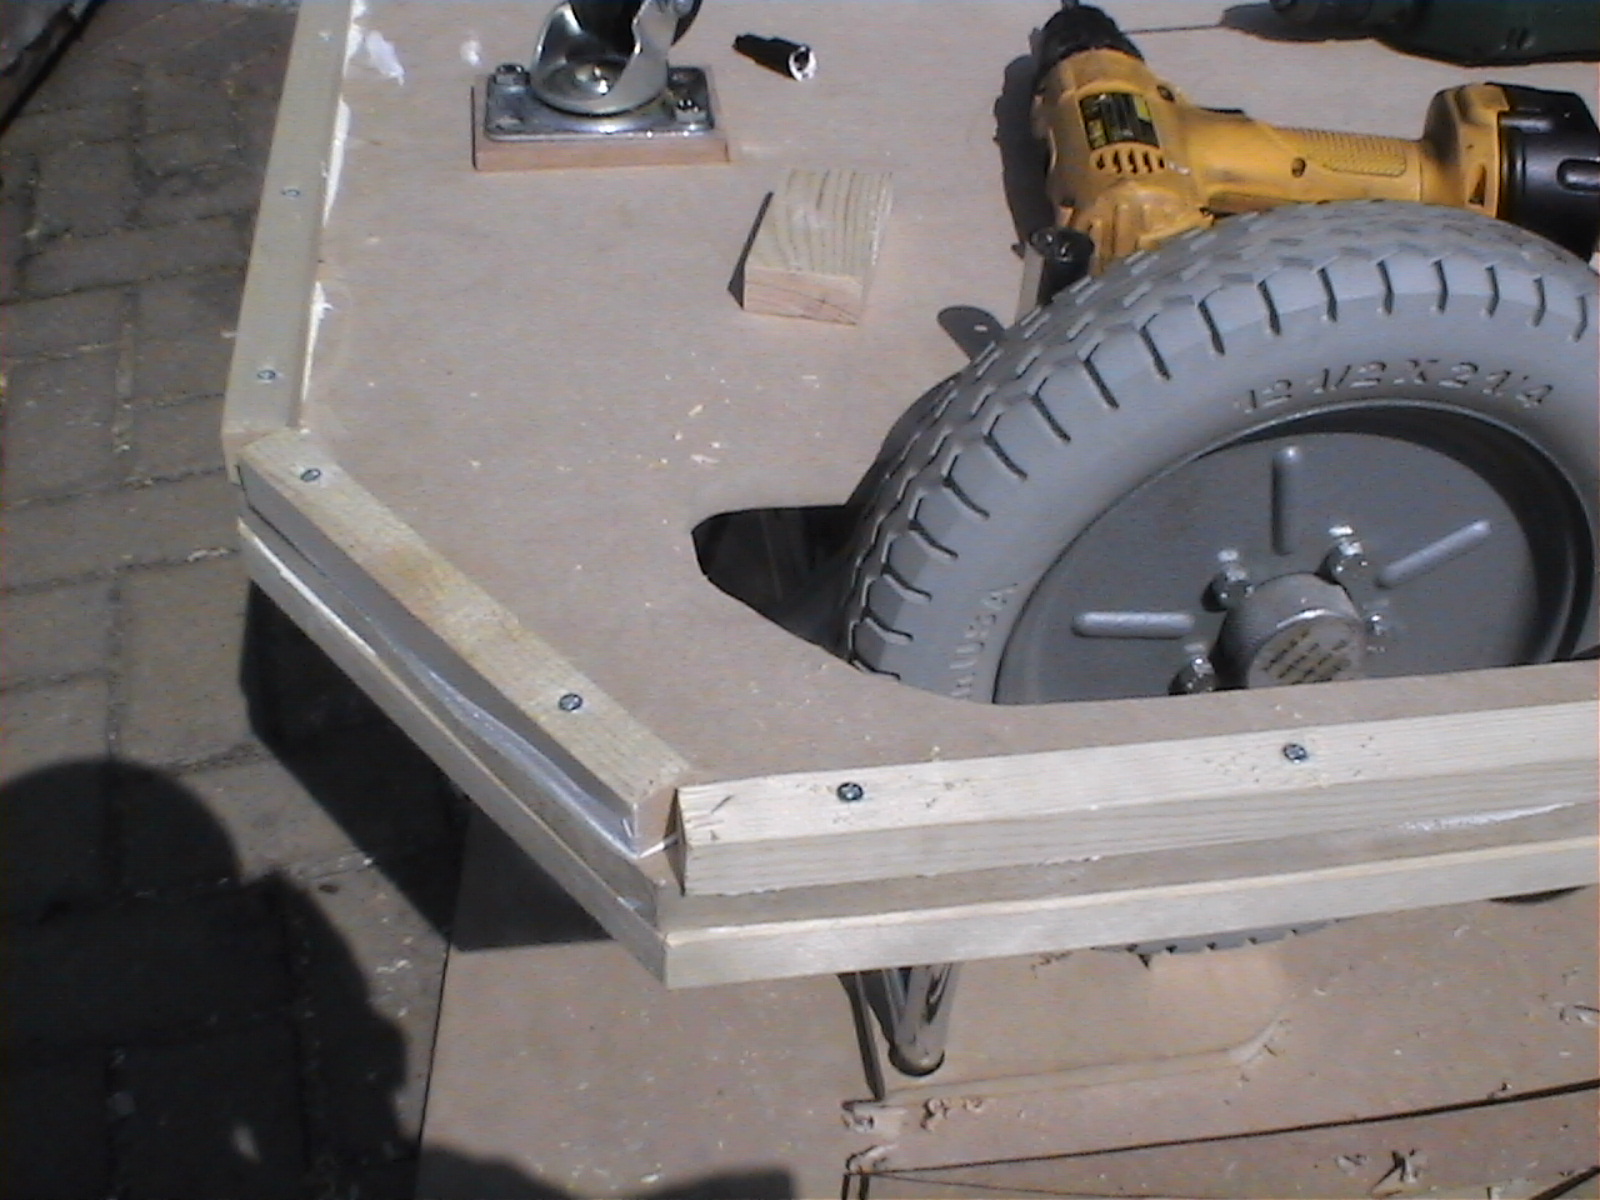
10th May 2006 - Another sunny day - two in a row ! The original two wheels were prone to catching on things so I decided to replace them with just one larger wheel which has the benefit of running smoother and slightly quieter. With all the motive power, seat and guide wheels repositioned it was time to start the skirt section. The original low profile MDF guide was removed in favout of a more substantial guide to hold the skirt in place. This was all I did today as the kids were home from schoolso I took this chance to let them drive it around our cul-de-sac. Unfortunately one of them crashed it into my wifes car and knocked out two of the hemi's !
16th May 2006 - Things are starting to take shape now, I have received two new toys to help with the construction - a router and a scroll saw. How I ever managed without a router before I will never know ! Anyway, I spent a couple of hours today tracking down a timber merchant that still sold bendy MDF, eventually I found one who still sold the 9mm version which I purchased in frustration. The original rear half of the shoulder section was covered in 6mm MDF so I will have to blend in the join to the new 9mm front half. That was fitted and left to set while I got on with cutting the neck rings out. The router came into its own here, I don't how people manage to make neck rings without one. Unfortunately the only 45 degree shamfer bit I had was not the right depth but it will have to do for now until the new one arrives. I only managed one ring before the heavens opened. Boo !
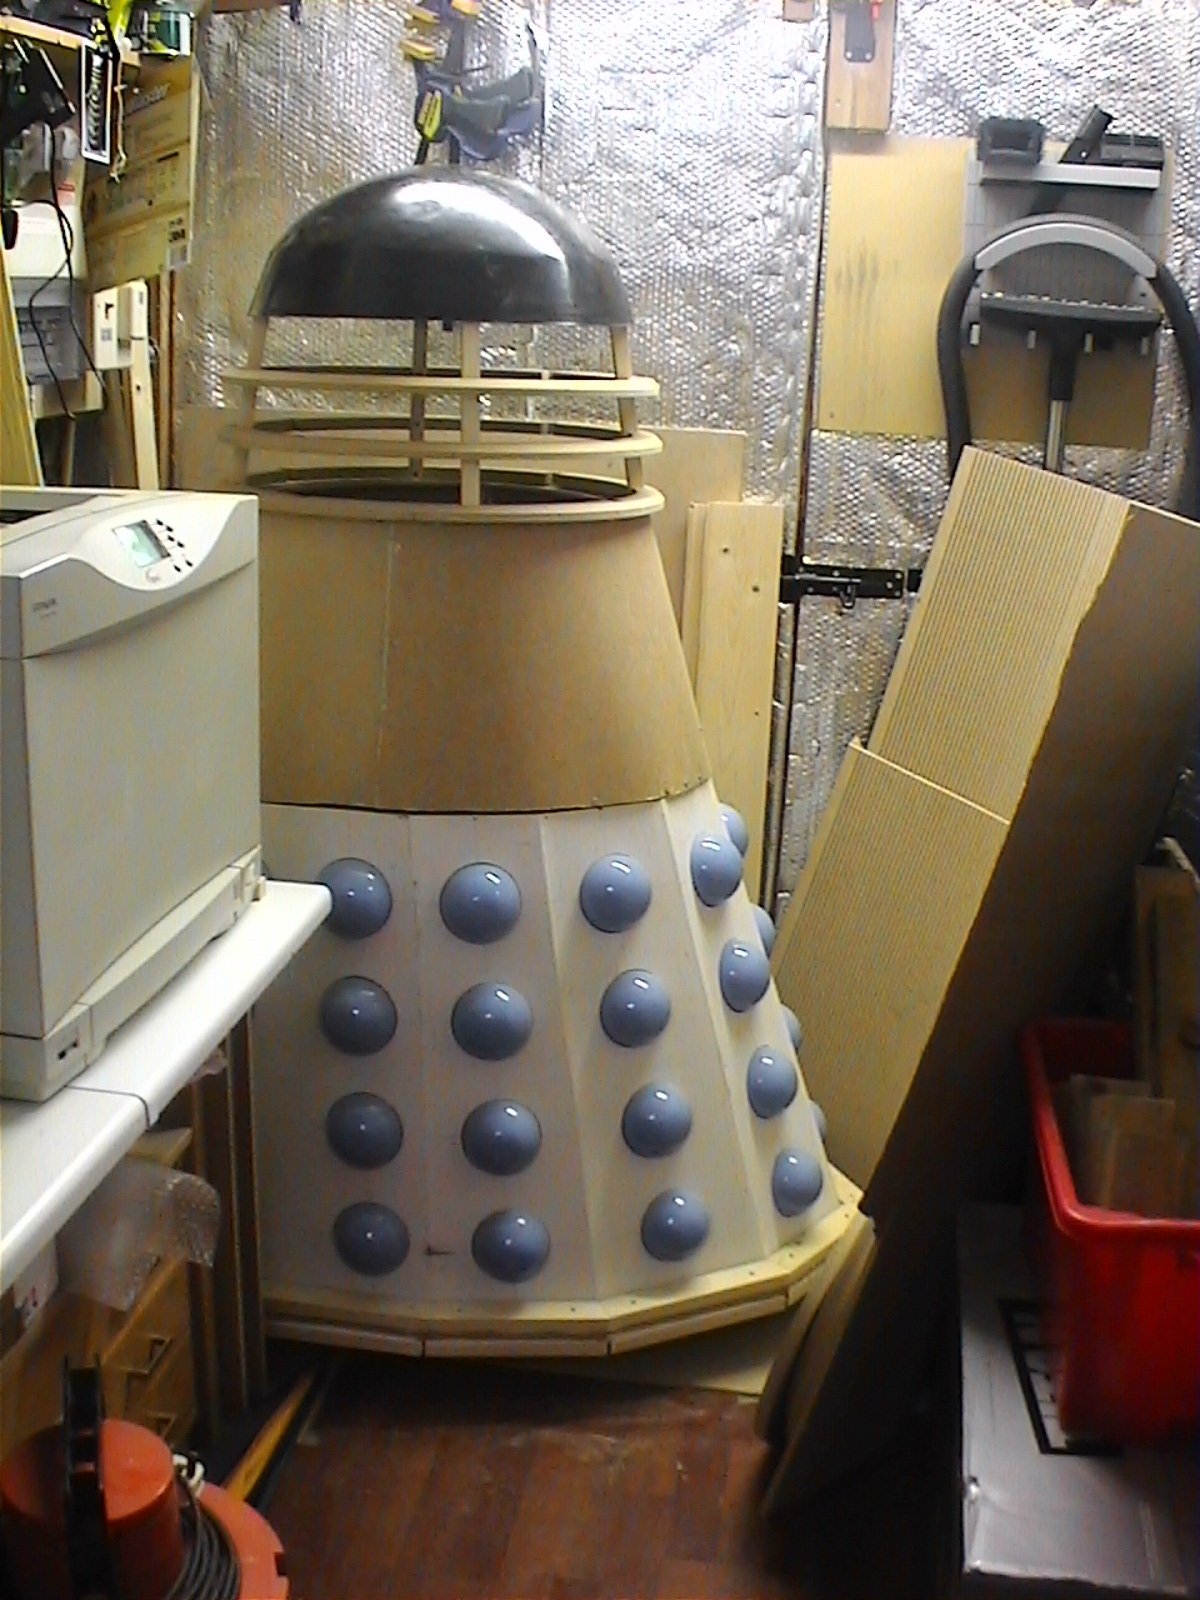
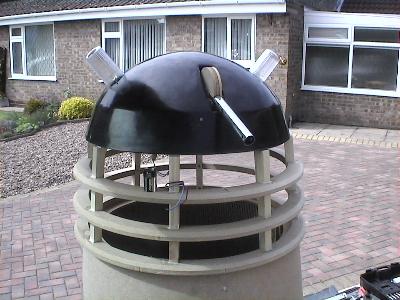
17th May 2006 - Today is a momentus day - I finally get to construct the neck bin which means for the first time I will be able to test assemble all the parts to form the whole Dalek body. Okay lets face facts, if you are going to construct the neck for yourself please bear this in mind - it takes bloody ages ! For the NSD every ring has to have eight seperate square holes cut into it, thats 24 in total. Believe me it takes a long, long time to get right and that doesn't include the extra holes for the top section under the dome (I'll take some more pictures when it stops raining). It took all afternoon to make the neck parts but in the end it was worth it. After a bit of test fitting the parts with the dome it soon became apparent that the NSD and the original Dalek measurements (that I am working from) are not the same. All is not lost though. Despite my initial pesimism about scrapping the whole bin in favour of a newer one, I have come up with a cunning plan to rescue the bin by slightly altering the struts and lowering the dome further down by about an inch. This should be fairly easy to accomplish and should make the finished article very convincing compared to the original. You will notice that the completed Dalek (left) does not yet have its gunbox in position yet. I made the decision not to fit prior to fitting the front 'skin' as that would have been far too difficult, what I am going to do instead is to cut the hole out of the finished shoulder section using a laser-line guide so the finished hole should be a snug fit - thats the theory anyway ! Still a lot of work to do, refiting the neck is the priority next, then the dome rotation disc is next. What you can't see are the two motors for the dome rotation and eye stalk movement. These were rescued from a scrap Rover car, fitting these should be fun :-) The weather forecast for the rest of the week is dire to say the least so it may be next week before I get to do anymore.
18th May 2006 - Despite the sunny pictures it did actualy rain for the best part of the day. Not got much done today but I did remake the eight struts that form the bin so they looked more like the NSD struts.I also mounted the motor for the dome rotation, I only had a 9v battery to test it so it ran very slowly. The main battery that powers the wheels is 24v so its no good for powering my other 12v devices.
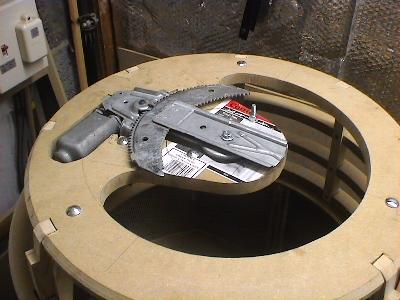
25th May 2006 - It was a better day today and I gots lots done. The 12v problem has been sorted as I have ordered a 24v > 12v converter so I can draw 12v power from the main battery. As the 12v power draw will be minimal I don't think it will cause a problem, fingers crossed. I had a lot of fun constructing the dome rotation disk, I don't know why but I just found it enjoyable, maybe because it actually 'does' something - it moves !! Everything went smoothly and the dome rotates very nicely. I also drilled the dome for the light covers and the eye stalk. The eye stalk has a spare bit of tube that is an off cut from the wheelchair, its only temporary but it gives me an idea how to fit the final tubing. I also tested the running gear and battery duration, it ran for an unbelievable 5 hours before the warning light came on, however, it was not under any load so I think an optomistic 'active' running time should be about an hour or two. The next thing to do is construct the gun box and fit that but that will have to be next week as I am back at work this weekend.